|
Strip Down and Cleaning of the Right Ascension Axis

| 3 – Synta HEQ5 – Stripping & Cleaning the Right Ascension (RA) Axis |
This procedure will guide you in stripping down and cleaning the HEQ5 Right Ascension axis. Re-assembly of the RA axis is covered HERE.
To carry out this procedure you will need a good assortment of tools including cross head and Phillips screwdrivers, a rubber or nylon mallet, a soft toothbrush,
degreasing agent, metric Allen keys, long nosed pliers, lots of lint free cloths and lithium grease.
I found commercial degreasing agents somewhat ineffective and resorted to using good old hot soapy water. Lithium grease is easily available from shops
selling bicycles. Its also advised to have a large soft towel or similar to lay the mount on while working on it to protect its external finish.
I would strongly advise you do not attempt this procedure without reading it through a few times in advance to understand the process. The procedure takes
around 2 hours from top to bottom unless you are very confident of what you are doing and have exactly the right tools. Its definitely best to have someone
around to help you with some elements of it – remember take your time and when in doubt STOP and think. Take a break when tired because you dont want
to bodge anything.
The DEC and RA worm gear adjustment process required after re-assembly can be quite lengthy as its very much trial and error so bear this in mind before
starting and allow plenty of time to carry out the procedure – it will pay dividends in terms of smooth and precise running and longevity of the mount.
| Stage 1 – Stripping the RA Axis |
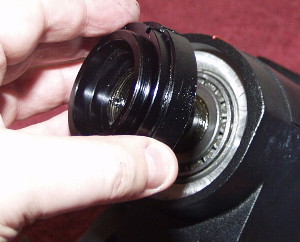
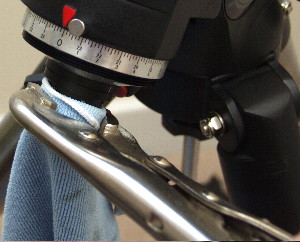
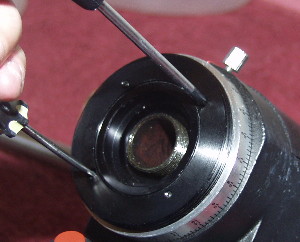
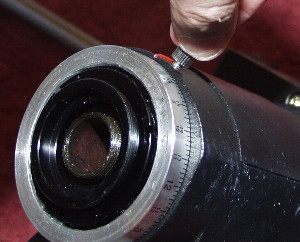
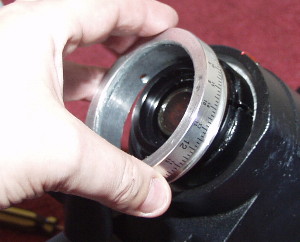
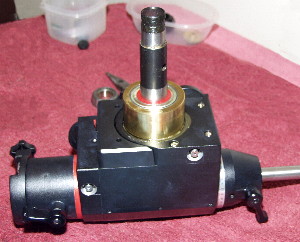
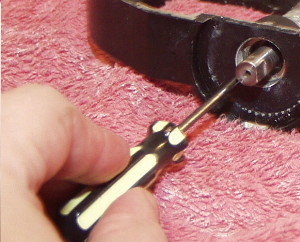
need a wrench to do this - if so be careful of the
polar-scope mounting plate threads.
Alternately use a pair of flat bladed screwdrivers or
similar to apply even pressure using the slots in
the nut - do this with care.
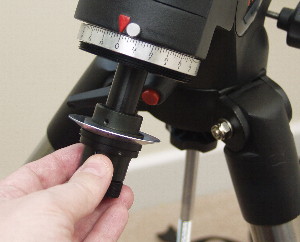
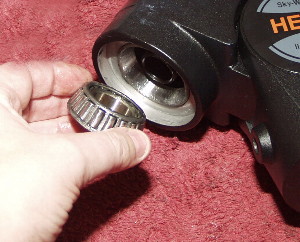
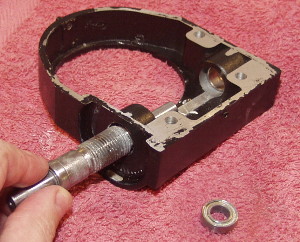
Once removed observe the tapered bearing. It may
come out at this point - if not it can be removed
easily after the following step.
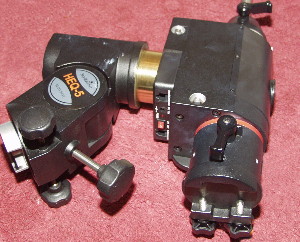
The Alt-Az base contains a bearing which will most
likely not remove easily. Leave it in-situ but clean
the bearing and the Alt-Az internal area and grease
the bearing face with lithium grease.
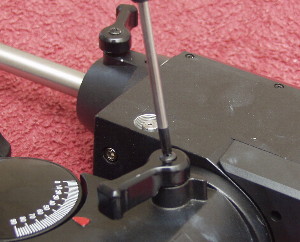
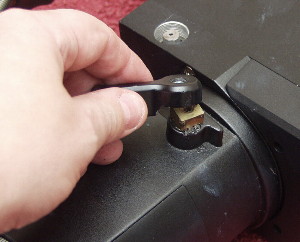
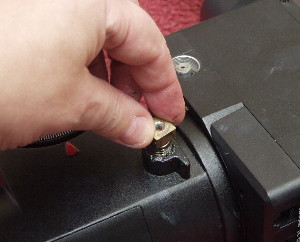
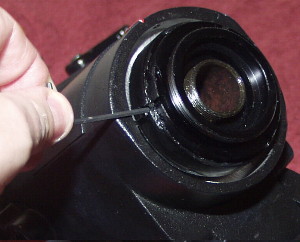
Note: At this point the small brass button for the
RA locking lever will be easy to push out if you
were unable to extract it earlier.
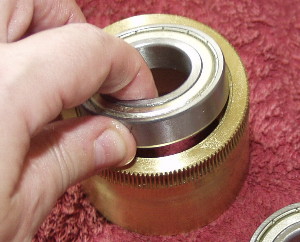
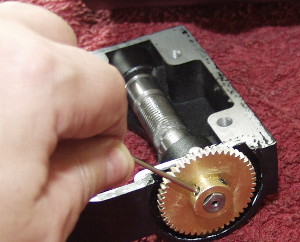
| Stage 2 – Stripping the Worm Carrier |
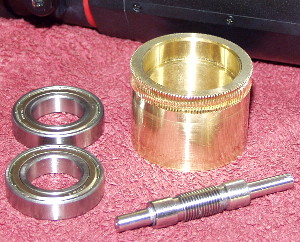
With a clean lint free cloth wipe all of the oil from the components. On my mount the roller bearings were sealed and appeared to be well lubricated so were left alone. The tapered bearing had almost no lubrication and so was cleaned and reblubricated with lithium grease. To lubricate bearings put a blob of grease onto the palm of your hand and press the bearing into it and then rotate the bearings around forcing the grease into the inside of the bearing. The brass worm gears and steel worm should all be cleaned in a degreasing agent. I personally find really hot water and a basic detergent works best. These were cleaned with a soft toothbrush and the rinsed and left to dry. All of the gears showed either little lubrication and/or engineering swarf present. The picture to the left shows the brass worm gear and its roller bearings and the steel worm. The motor gear, brass RA lock nut and small roller bearings from the worm assembly aren’t shown.

