astro-babys guide to stripping and rebuilding the HEQ5 mount
4 - Synta HEQ5 - Lubrication & Re-Assembling the Right Ascension (RA) Axis


This procedure will guide you in re-assembling the HEQ5 Right Ascension axis and follows on from the stripping down and cleaning guide HERE.

NOTE: Very little of the mount assembly requires brute force on tightning down components. They need to be firm but not so tight the threads pop.
Generally a light touch is required rather than brute force. Remember this is a precision piece of engineering and many of the fittings are aluminium so threads
can be easily stripped and ruined.

NOTE 2: When this guide was originally written the accepted wisdom was that white lithium grease was an overall good lubricant. However it would appear that
standard white lithium grease may cause problems under some extremes of damp/temperature. All of the mounts I have rebuilt have been done with white
lithium that is stable and often mixed with a syntehtic like Teflon or PTFE. It is best to consult the manufacturer on the quality of the product.

 
Stage 4 - Re-assembling the Worm Carrier
Replacing the worm in the carrier Replacing the float adjuster in the worm carrier The assmebled worm carrier
Lubricate the small roller bearings and replace them
on the worm, then replace the worm in its carrier.
Note: the worm has a longer spindle one end than
the other. The longer end goes to the motor gear.
Replace the float adjuster and tighten down. The
adjuster should be just tight enough to stop the
worm moving from left to right in the carrier but not
over tightened. If its too loose there will be 'play'
in the mount, if too tight the mount may 'bind'.
Here is the assembled worm carrier. Its been
cleaned and loose flaky paint removed.
You can see the worm now has a thin coat of lithium
grease.
Note: The motor gear can be reattached now or
left until later.The motor gear must have one of its
set screws on the flat portion of the worm spindle.
     
Stage 5 - Re-assembling the Right Ascension Axis
Replacing the DEC housing main bearing Relacing the brass worm gear on the declination barrel Replacing the round nut on the Dec barrel
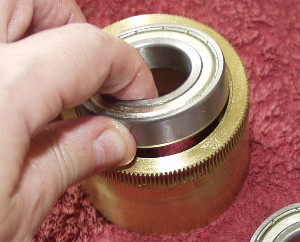
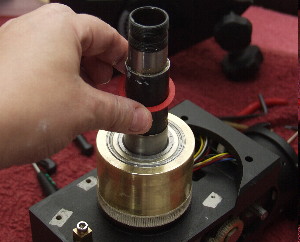
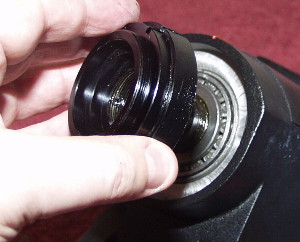
Replace the roller bearings into the brass worm
gear - apply a small amount of grease to the edges.
These may have to be tapped into place
using a nylon hammer or a block of wood.
Apply lubrication to the brass gears.
Place the brass gear back onto the RA shaft and
place the washer back to the top. Note the brass
gear has a layer of lubrication on its gears and on
the bearing face.
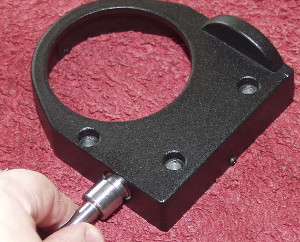
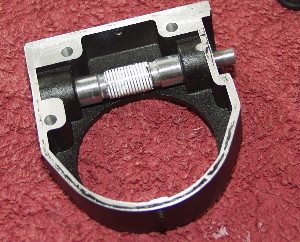
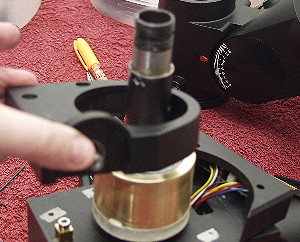
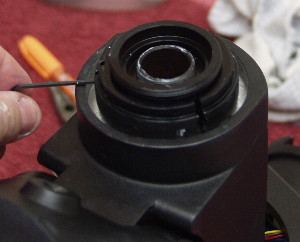
Replace the assembled worm carrier and replace
cap headed screws but only just tight enough to
hold the worm carrier in place.
     
Tightening the Dec barrel set-screws Placing the worm carrier on the Dec shaft Putting the Dec axis back in the main housing
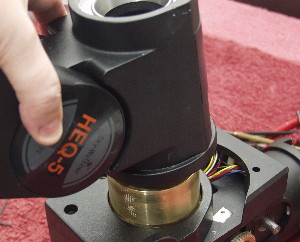
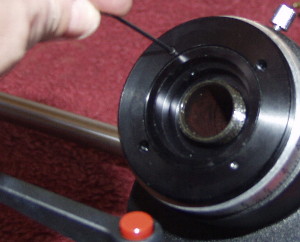
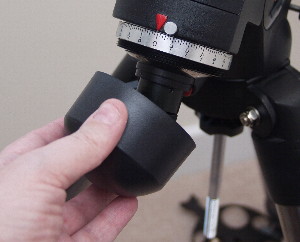
Remount the Alt-Az base of the mount to the RA
axis - make sure the roller bearings faces are
given a smear of lithium grease.
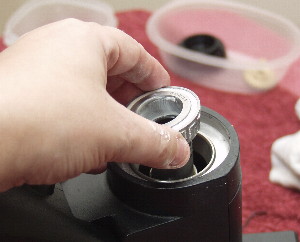
Replace the tapered bearing after making sure it is
clean and has been well greased with the lithium
grease.
Replace the round slotted nut and tighten. This
needs to be not much more than hand tight.
Make sure that it is compressing the tapered
bearing into place.
Check slack in the RA axis and if it binds too
much then slightly then loosen this nut.
     
Replacing the tapered bearing  Replacing the declination scale
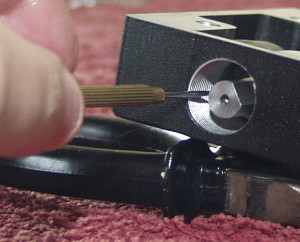
Tighten down the locking screws located in the slots
of the round nut.
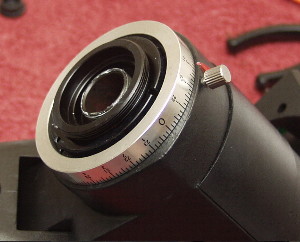
Replace the Right Ascension scale and set-screw. Replace the polarscope base plate. Don't over-
tighten.
     
Tightening the counterweight set screws replacing the cap head bolts replacing the Dec lock button
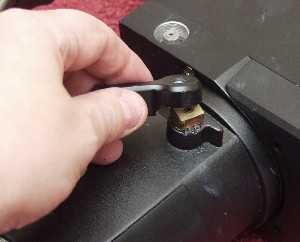
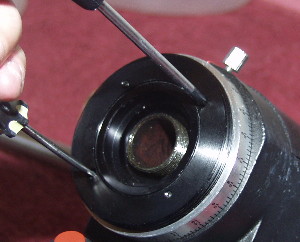
Tighten down the small set screws in the polar-
scope mounting plate.
Replace the RA brass button and lock nut and and
make sure its has been lubricated with lithium
grease.
 Replace the RA locking lever and make sure it is
free to lock and release the axis.
   
Replacing the Declination lock bolt

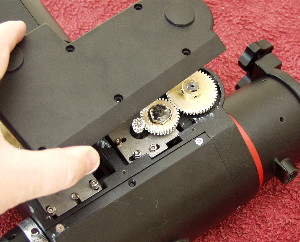
You will now need to replace the motor gear on the worm spindle if you omitted that step earlier.

The power cover has not been replaced as you will need it off to carry out the adjustment to the worm/motor engagement.
This procedure is covered HERE.

When worm/motor engagement has been completed proceed to the final step of replacing the motor and power covers.
Replace the RA lock lever screw. 
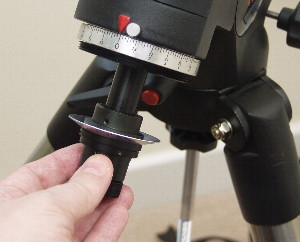
Replace the polarscope.
     
replacing the counterweight bar refitting the dovetail holder
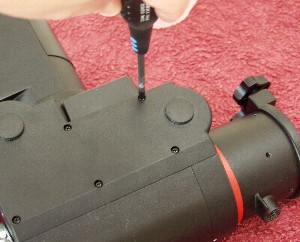
Replace the plastic motor cover.  Replace the 6 Phillips screws in the motor cover. Replace the polarscope cover.
The polarscope will require recalibrating.
See my polar alignment guide HERE
 
The Right Ascension axis is now completed. If you wish to strip and adjust the Declination axis go back to the main page HERE