|
 |
 |
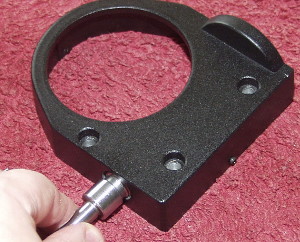
Replace
the bearing in the main housing. Apply a
thin layer of lithium grease to its surface. |
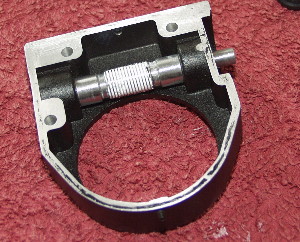
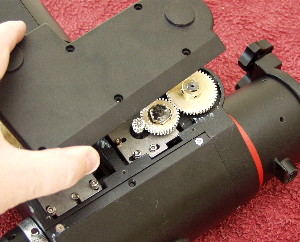
Reassemble the brass worm gear with its bearings
(you may need to tap these in with a nylon
mallet)
and replace the assembly onto
the Declination
barrel and shaft. Apply
a thing layer of lithium grease
to the
gear and all bearing faces.
You can also
see in this pic the main housing
bearing has had lithium grease applied
to its
bearing face. |
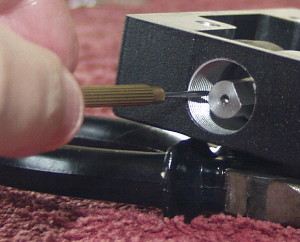
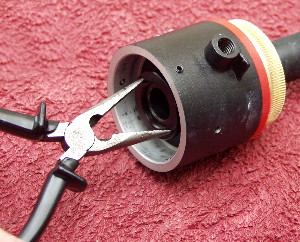
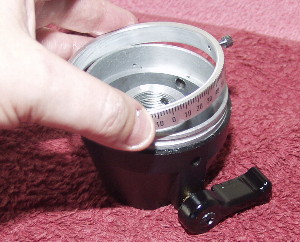
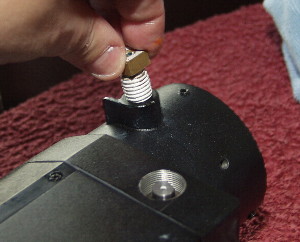
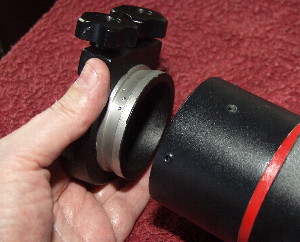
Replace
the round nut in the Decliantion barrel.
Tighten down using the long nosed pliers or
a pair of small screwdrivers. |
| |
|
|
 |
 |
 |
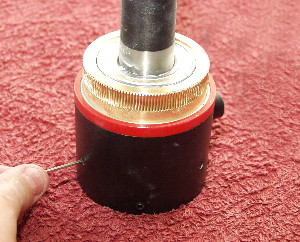
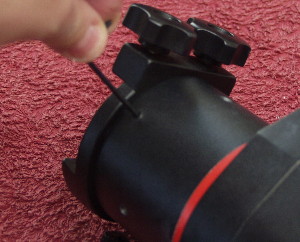
Tighten down the 3 deep set screws on the
Declination
barrel. |
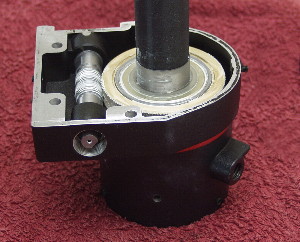
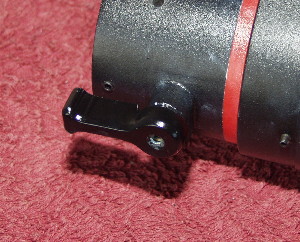
Replace the worm carrier onto the Declination
shaft.
Replace the clear washer on top of the brass
gear. Its almost insivisible in the picture
above. |
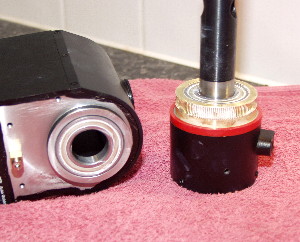
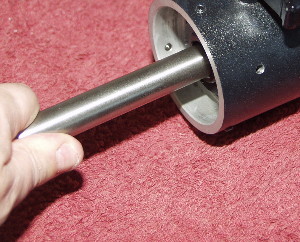
Slide the declination shaft back into the main
housing.
|
| |
|
|
 |
 |
 |
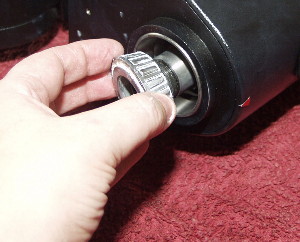
Replace the tapered bearing at the bottom of the
main housing
after lubricating it with lithium grease.
Note If this wont push
all the way in dont worry. As
long as there is some thread showing on the
Dec
shaft for the counterweight
collar. |
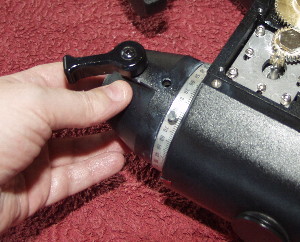
Replace the Declination scale on the counterweight
collar. |
Replace the counterweight collar. Tighten this down
using only hand pressure. Tighten it as far as it
will
go and then back off until the
counter-weight lock
lever is in line with the Declination
lock
lever.
Note: The threads on this part of the mount can
be
very stiff - I applied a small squirt
of WD40 to ease
the threads a
little. |
| |
|
|
 |
 |
 |
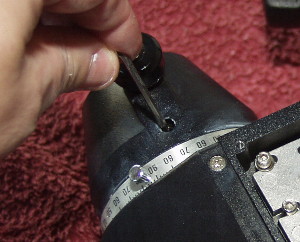
Tighten the 3 set screws in the counterweight
collar. |
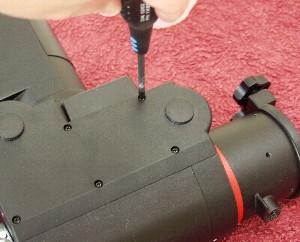
Replace the cap head bolts (normally silver
coloured) with just enough pressure to hold the
worm carrier in place. Make sure the
carrier is lined
up with the
mount.
Note: The worm
engamement will need to be
adjusted this is covered in the guide HERE. |
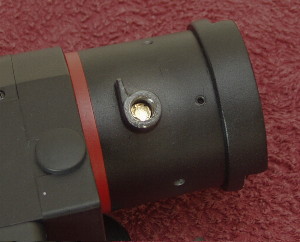
Replace the Declination lock 'brass button'. |
|
|
|
 |
 |
 |
Replace the Declination lock bolt. Apply a coat of
lithium grease and hand tighten down. |
Replace the Declination lock lever and make sure it
is free to move to both lock and release the
declination axis. |
Replace the silver Phillips screw in the Declination
lock lever. |
| |
|
|
 |
 |
 |
Replace the counterweight bar into the Declination
axis. |
Replace the dovetail mounting. Make sure the
locking screws for the telescope dovetail bar are
oppositethe Declination lock lever. |
Tighten down the dovetail holders 3 set screws. |
| |
|
|
At this point you will need to adjust the worm/motor engagement. This procedure is covered
HERE.
When worm/motor engagement has been completed
proceed to the final step of replacing the
motor covers. |
|
 |
 |
| |
Replace the plastic motor cover. |
Replace the 6 Phillips screws in the motor
cover. |